
Did any of you try the DIY on Family Picture Cards? Well, this one is a similar concept and I made one for My Munchkin for Animals.
She is able to recognize most of the animals from the ones she has so thought this was the best time to introduce this activity to her. I made two different sets – one for farm animals and one for wild animals.
Process of this DIY is just like that of the Family Picture Cards only with an additional step.
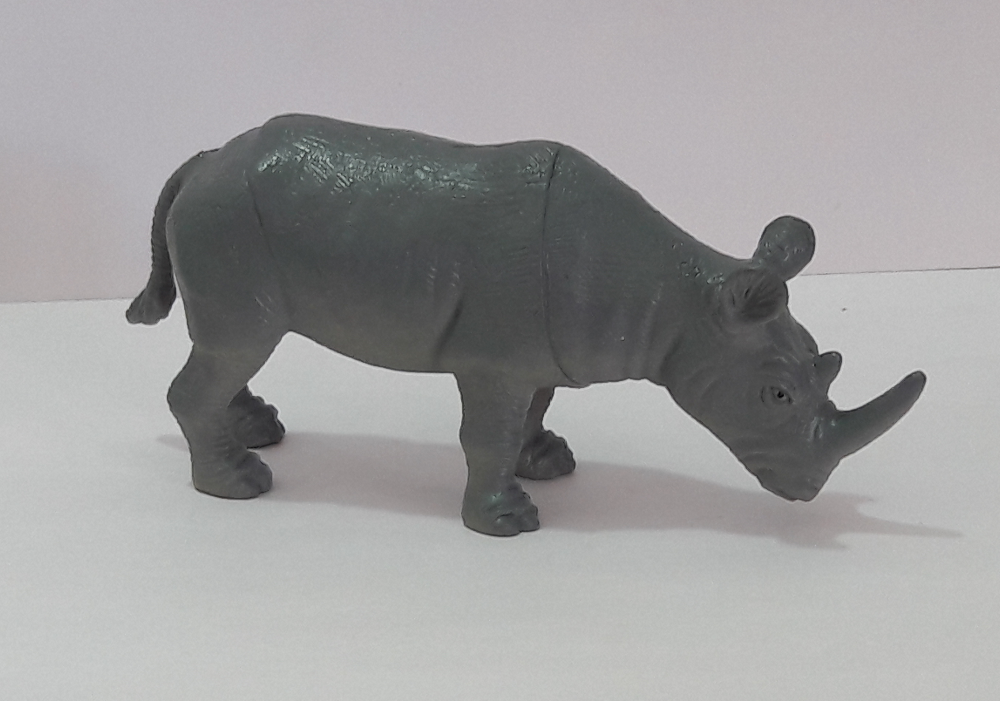
Try to get animals that look similar to real ones rather than the animated animal figurines. Also having them in a fairly big size is a big plus. We have a small set (like you get in most stores) of most of the animals and I keep trying to look for big ones. Currently, we have the bigger sized ones in a few farm and wild animals (hoping to find more soon).
To start this DIY, I took pictures of the animals she plays with. What you would need to do is, stick an A4 size white paper on the wall and on the table joined together like a ‘L’. I then kept each animal on this paper, made sure there was sufficient lighting and took pictures.
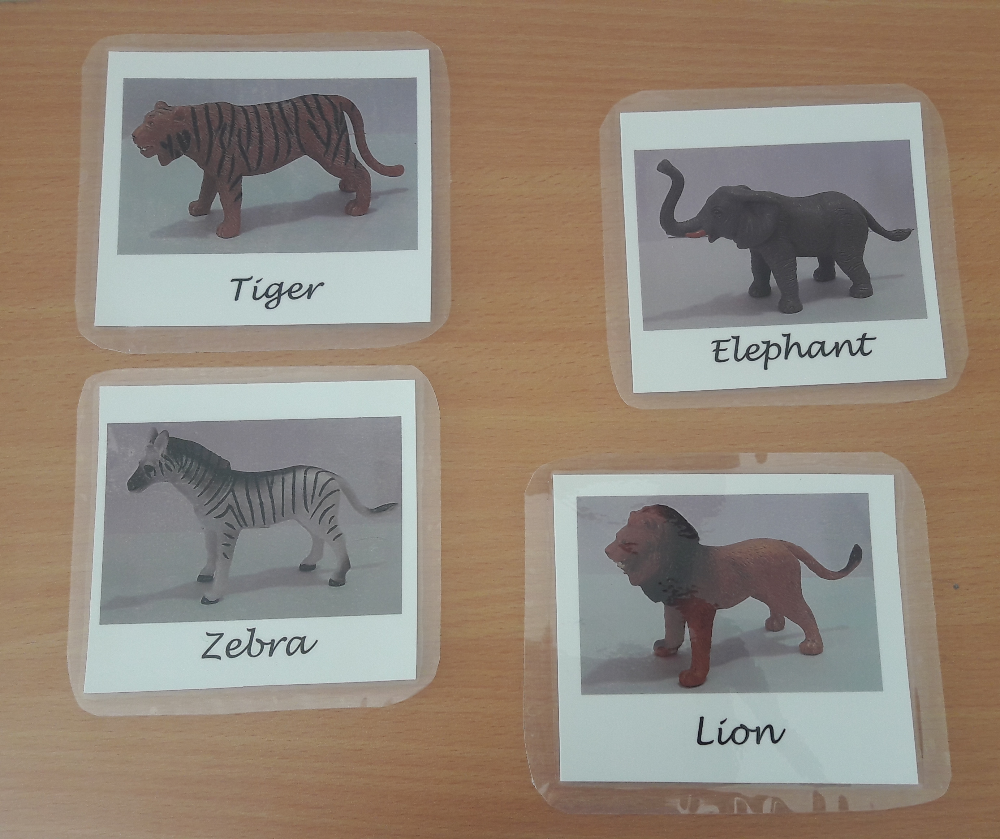
Once done, I selected the best image of each animal from the ones taken and transferred it on the computer and cropped them to about 5x5 inches in size (except for the Giraffe which was longer).
Once the images were ready the process was the same like last time with two ways of making the activity:
1)Give the images of a photo studio or printing shop and they will print and laminate it for you.
2)If you want to DIY the entire thing, then get the photos printed on card stock (or good quality paper). You would also need to buy lamination sheets (1 sheet of A3 size would be enough for 4-6 pictures). I would recommend buying one that is at least 125 microns thick. These would be available with your local stationery shop.
You guessed right – we are going to laminate them at home!
Once you have your pictures print, cut them out to the required size. Take your lamination sheet and place the images in between. Make sure you keep sufficient space between them to cut so that they do not open up.
Once this is placed, heat the iron up. Place the lamination sheet on the ironing board or a smooth surface and put a cotton cloth over it. Press down with the hot iron and slowly move the iron from one end to the other. Do this without lifting the iron to avoid bubbles from forming. You can repeat this step once more.
Let it cool a bit and then check if it has laminated from all sides. If you feel it is opening up from some part, cover that with the cloth and iron over it.
Once done, let it cool completely and then cut each image out – do keep some of the lamination plastic as a border (like it is normally seen it laminated documents). Do round all the sharp edges with a scissor so they do not hurt your Munchkin.
I will try and upload a detailed DIY for laminating at home soon.
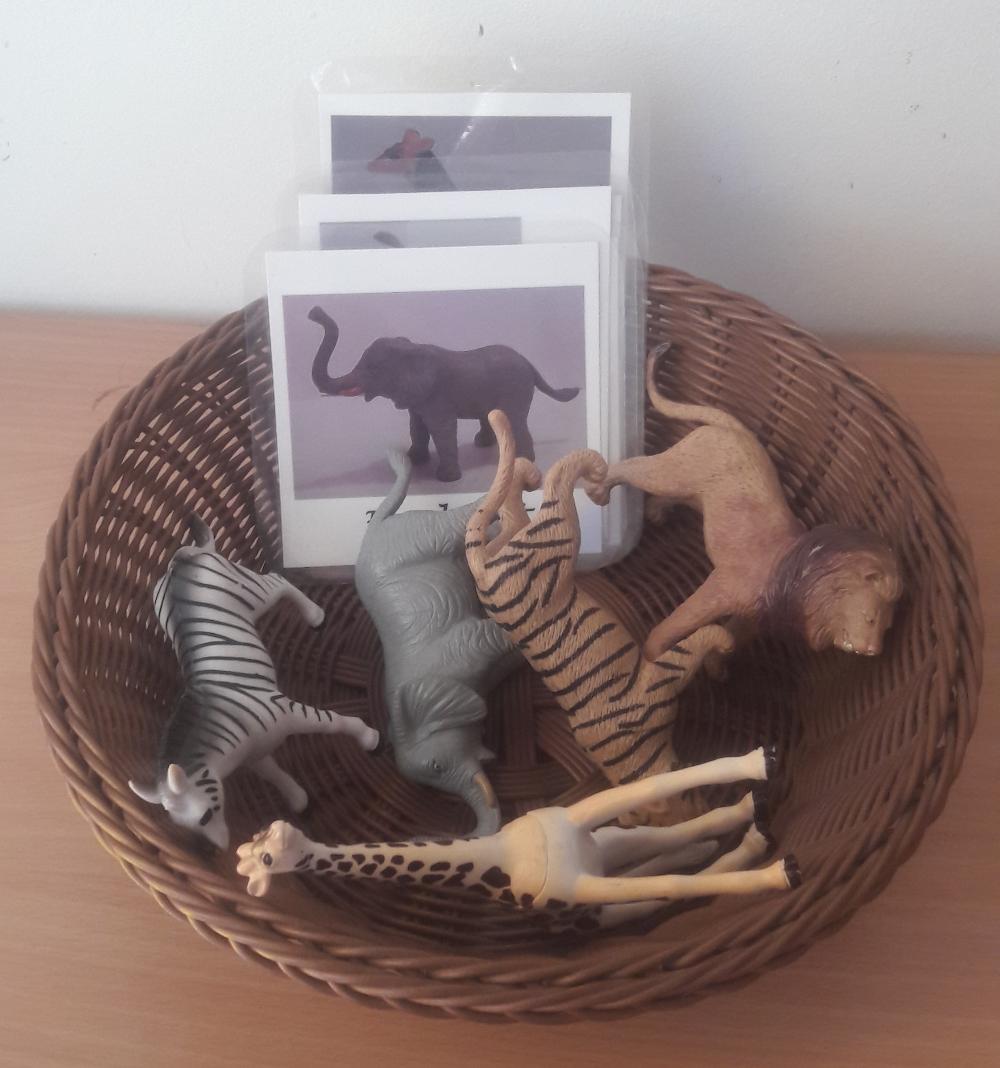
I had a basket ready and put in the wild animals along with the pictures and put them on My Munchkin’s work shelf. I presented the activity to her and she was off doing it herself. (If you feel your Munchkin is not ready or not interested in doing the activity you may remove it from the shelf and reintroduce it after a few days/weeks).
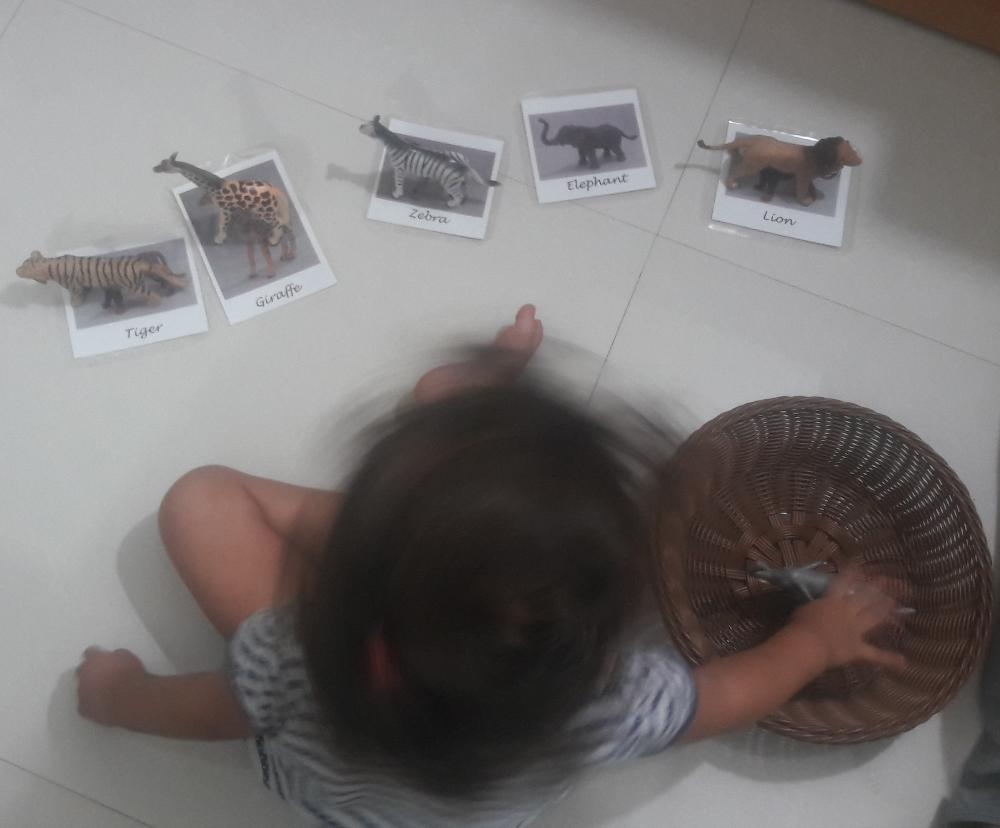
Age: The best time to introduce this is once they are able to recognize the animal figures and also images of animals in books.
Purpose: Helps in associating 3D to 2D (animal figure to the animal picture).
An excellent activity for your Munchkin’s development. Do let me know if you try it.