
Tracking toys are great in providing children with the means to develop certain skills. These come in various forms like a ball tracker (most recommended), even a racing car tracker and a few more. They are priced high which is why I tried a DIY version of it.
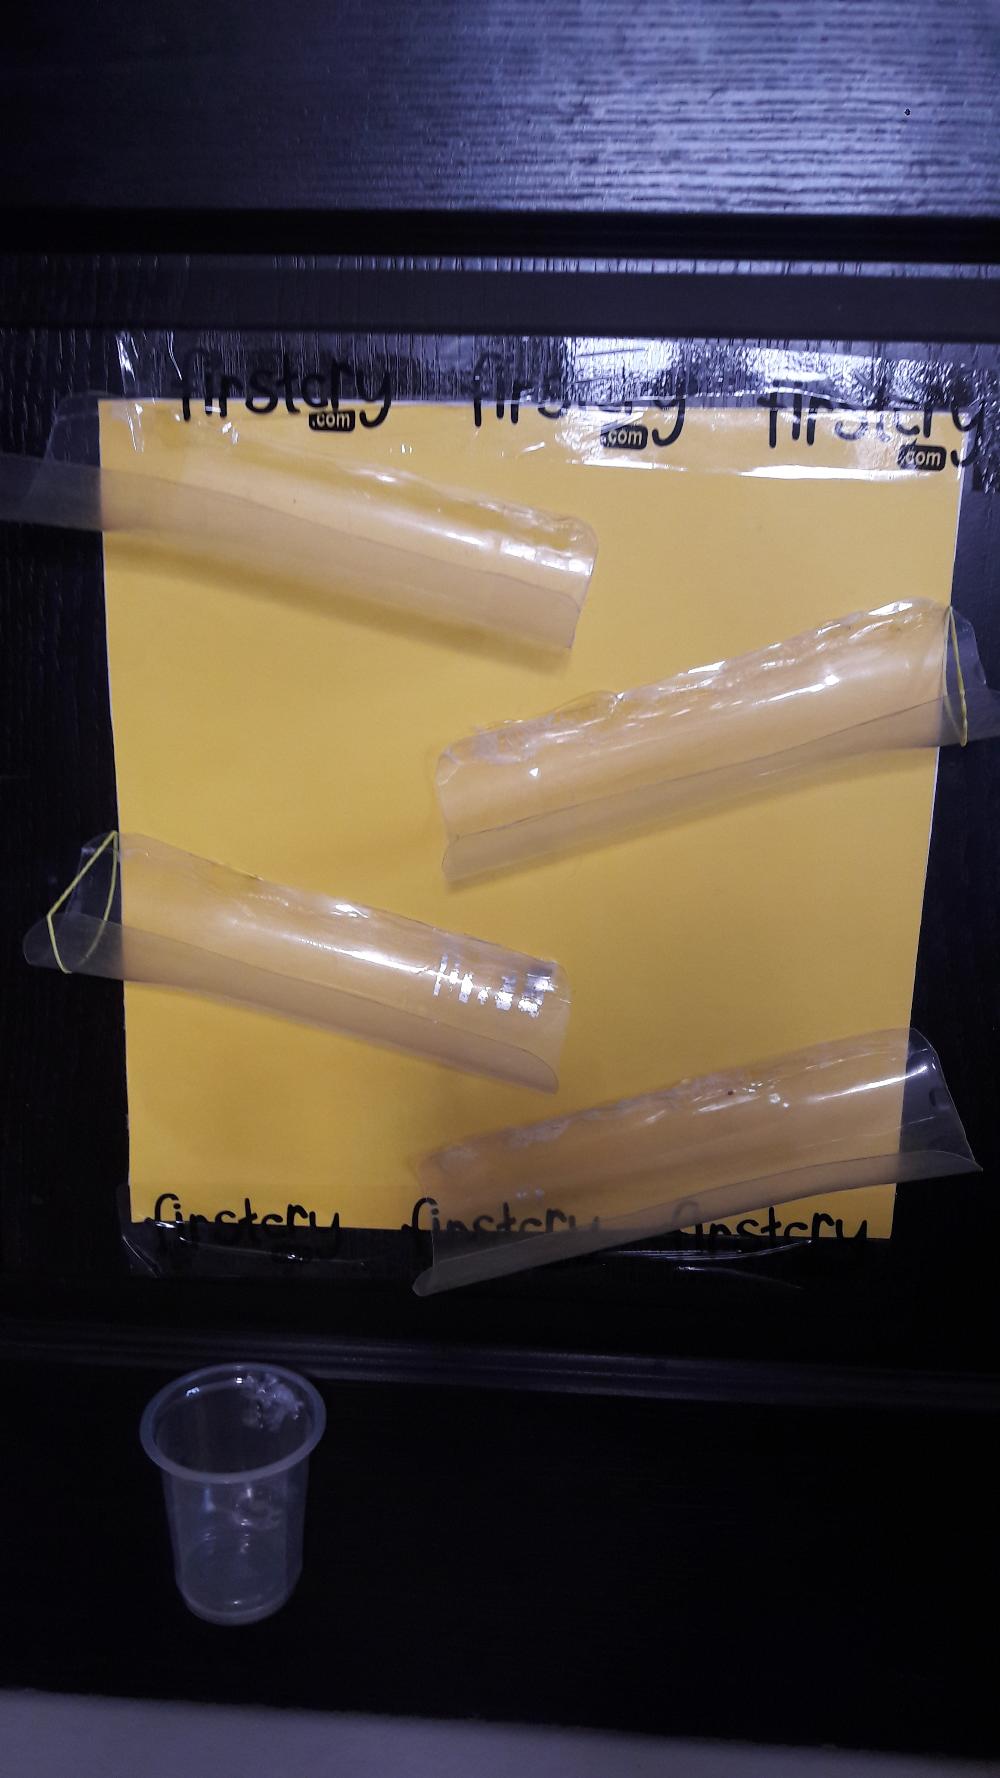
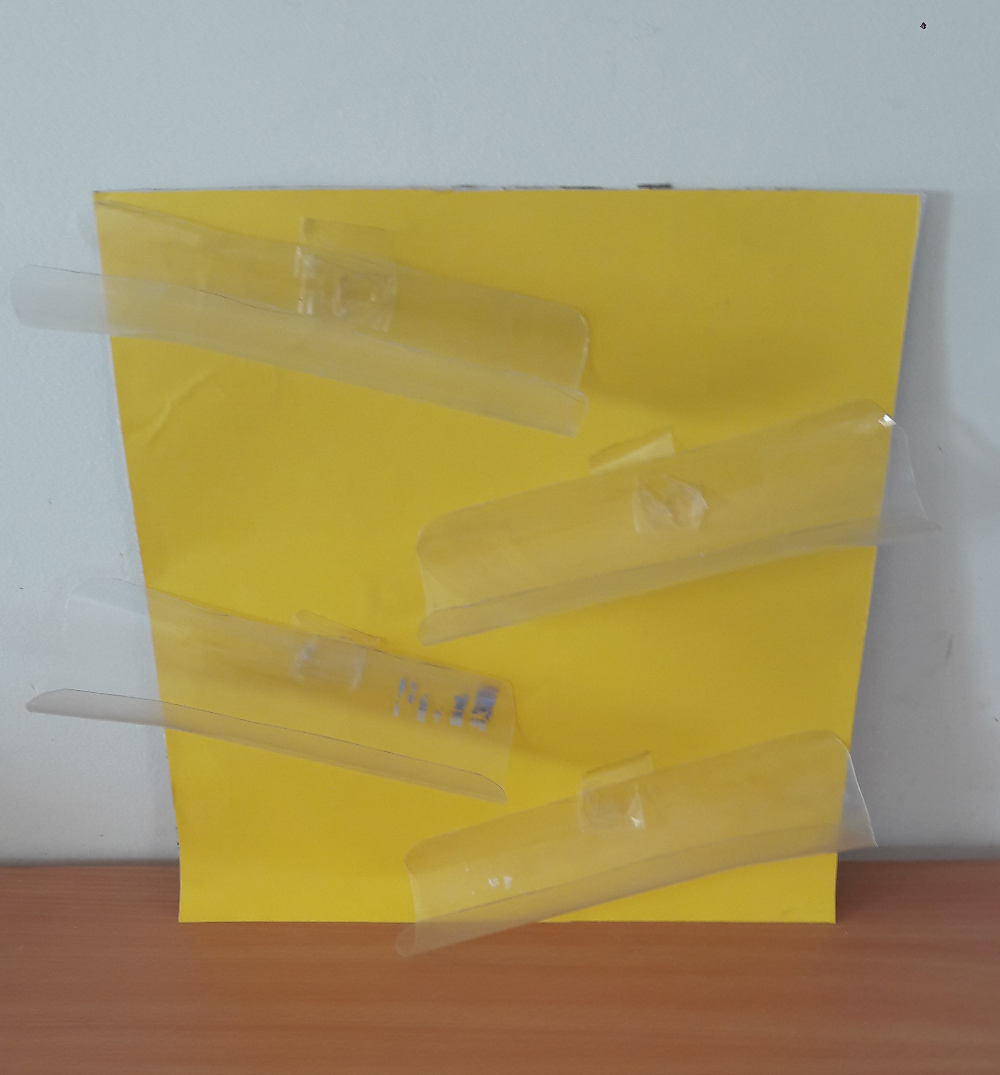
For the DIY, I used 2 old plastic bottles, sandpaper, chart paper, cardboard and glue. I first cut our the base and lid of the bottle and then cut the bottle into half so I ended up with 4 halves in total. I cut the edges to round them up and then smoothened all the cut parts with the sandpaper to make sure they do not hurt My Munchkin.
Next I stuck the chart paper (I used yellow colour) on to the cardboard. This does not have to be very big, just enough to have the entire tracker fit into the frame. Once I had a study frame, I placed the bottle halves on the frame and temporarily stuck them with tape. I adjusted each one so that the ball would be able to roll from one to the next without falling out. Once I was sure of the placement, I glued them on with my glue gun.
I tested it a few times. The second and third row bottles were too broad at the end so the ball fell out at times. I put a rubber band around the base of these to solve this problem. Next I affixed this onto the door where I planned on putting it up. I also attached a plastic glass at the end so that the ball falls into it, instead of rolling all over the place.
Age: This can start as early as 10-12 months
Purpose: There are many things that the tracker helps develop.
-Develops visual tracking skills, which indirectly help them with reading later on.
-Auditory tracking from the sound of the ball falling.
-Builds concentration
-Develops hand-eye co-ordination.
It is quite a fun activity and very easy to make. Watch how it works below:
Do let me know how your Munchkin enjoys this DIY once you make it.